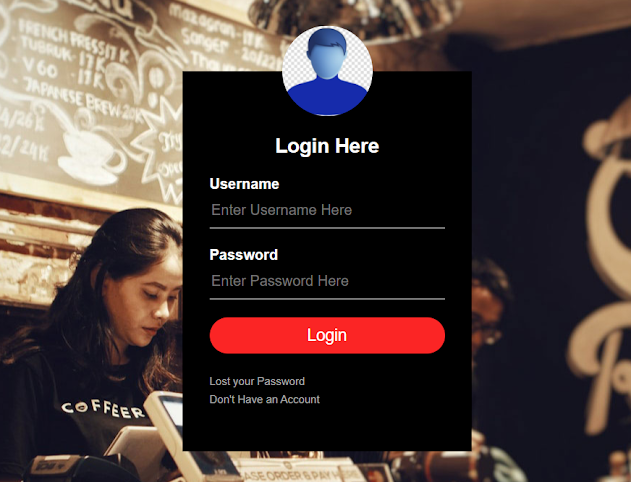
How To Create Login Form In HTML and CSS
Introduction
HTML
(HyperText Markup Language)
This is
the most important markup language that can be used to develop websites. It is used to display text, images, audios, and videos on a webpage. The HTML
extension is (.html). It is not a case sensitive language.
CSS (Cascading Style Sheets)
It is used to style HTML documents. CSS can make responsive
web pages and is used for styling and its collection of formatting rules. It is
used for designing purposes. The CSS extension is (.CSS). All CSS style sheets are case-insensitive, except for parts that are not under the control of CSS. For example, the case-sensitivity of values of the HTML attributes "id" and "class", of font names, and of URIs lies outside the scope of this specification.
CSS has three types
- Inline CCS
- Internal CSS
- External CSS
We can
understand HTML and CSS like this way. HTML is like a cake; it is the
main thing. CSS is like icing, it gives more attraction and useability for the
users. so, you create a webpage without using CSS, it's like a cake made without
using icing.
Step 01
Create a new folder for this project and give the name to the folder. After that create HTML and CSS files inside the folder. Then HTML and CSS should file open within a text editor (Ex: visual studio code)
Step 02
Click file, create new 2 files and give names index.html and style.css
Step 03
Now, link the CSS to the HTML file, you just copied and paste this code in the heading tag in HTML code:
Step 04
Next, create a structure for the login page using HTML, get
to Username and Password.
Description
of each HTML tag
<!DOCTYPE
html> à Document type (required) defines
HTML version
<html></html> àHTML tag identifies page as HTML
<head></head>
à Head tag specifies page
information
<title></title>
àtitle tag assigns name to page,
title generally display at top of the browser
<ink> à defines the relationship between
the current document and an external resource.
<body></body> àcontains page contains
<div></div> àdefines a division or section
<img>
àdefines image location
<h1> àdefines heading levels
<form></form> àused to create an HTML form for
user input
<p></p> à paragraph element formats
paragraph text
<input> à specifies an input field where the
user can enter data
<a></a> à defines a hyperlink, which is used
to link from one page to another
<br> à can use line break in most browsers
Now you
save and open it in the browser, you can see it like this. You have to decorate
and arrange the format professionally. You can use step 05 to decorate it.
Step 05
Next, write code in CSS to apply some style to the HTML so you can change the look of the login page.
After using the CSS code, the output looks like this:
Summary
We have successfully created a Login page. I hope this article is useful to you. If you have any comments or problem with this article, please ask in the comment section.
Read my next blog post to get an idea about how to connect the back end to this login form and how to review the data. Go next post!


0 Comments